Find out how you can decorate your walls with the simple panels that can be easily installed. This introduction level book gives information on materials, tools and the procedural steps. Get maximum bang but with minimum bucks to upgrade your interiors.
Wall Panel Installation; A Do-It-Yourselfers Guide
One of the simplest and most stylish ways to upgrade your home's interior is by installing decorative wall panels. Whether you’re planning a feature wall, looking to hide imperfections, or just want to add texture and warmth,
3d wall panels offer a fast, affordable, and impactful solution.
This DIY tutorial is specially designed for beginners, explaining everything from panel selection to must-have tools, installation process, and professional finishing techniques.
Why Select Wall Panels?
Wall panels serve not only to beautify. They are also very functional. They can:
Hide an uneven or damaged wall
Provide insulation
Enhance acoustics by sound reduction
Bring in sophistication and contemporary design trends
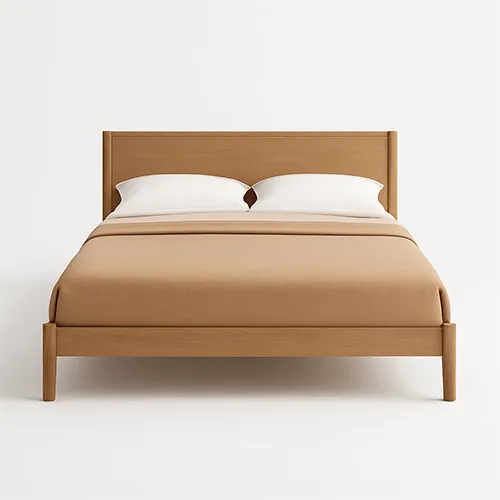
Being easy to find in a multitude of types of materials such as wood, MDF, PVC, 3D panels, fabric, and metal, wall panels fit into any room from living rooms and bedrooms to office spaces and hallways.
Wall Panels Options
For a DIY newbie, it is advisable to start with simple-to-manage wall panels. Below are four DIY-friendly options:
PVC Wall Panels Light, water-resistant, and cleanable
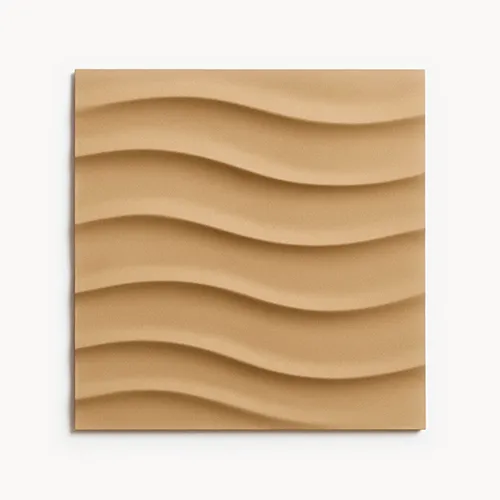
3D Wall Panels Provide depth, texture, and artistic design
MDF Panels Great for traditional styles like wainscoting or shaker paneling
Peel and Stick Panels Ideal for renters seeking a temporary yet stylish makeover
Materials and Tools You’ll Need, Before starting your project, gather these essential supplies:
Wall panels of your choice
Measuring tape and level
Utility knife, jigsaw, or circular saw.
Adhesive glue or nails or screws depending on panel type
Caulking gun for sealing gaps
Paint or wood finish optional
Step-by-Step DIY Installation Guide
Measure and Plan Measure the size of area on your walls and draw a panel plan. Draw reference lines with pencil and level to maintain a correct placement.
Surfacing the surface should be prepared. Wash the wall in order to clear it off dust, grease, or grime. To achieve better direct adhesive bonding, make sure that surfaces are smooth and dry.
To fit panels cut on the lathe When you are trimming your panels, you need to use an apposite cutting instrument like utility knife in the case of PVC or a jigsaw in case of MDF or 3D panels. Do not forget to allow sockets, trims and corners.
Adhesive usage or Fasteners Apply In case of adhesive panels use glue and even out at the back of the panel and firmly stick to the wall. Some panels that are heavier might need screws or nails as an extra security measure.
Seal and Finish To have a smooth appearance, use caulk to fill gaps or seams. In case your panels can be painted then this is the time to give it a finish that looks personalized.
Advice on a Professional Finish Confirm the alignment two times when fixing every panel Apply painter tape and prevent the glue leakage and the crooked placement Have a damp cloth at hand to remove excess glue as fast as possible Hang pictures or decorations are allowed to go unharmed once the adhesive is completely dry Frequent Errors to Look Out Surface preparation skipping Inconsistent or incorrect panels installation Applying the wrong adhesive on the material Failing to allow expansion room particularly of wood panels
Final thoughts
Before you start adding elements of beauty and grandiosity to your abode, you could start with the easiest DIY project you could ever think of installing without blowing much bucks, designing decorative wall panels. With adequate tools, planning and bible like this, stylish functional room and space too can be created that has the personal style touch.


This wall panel installation guide is really easy to follow.